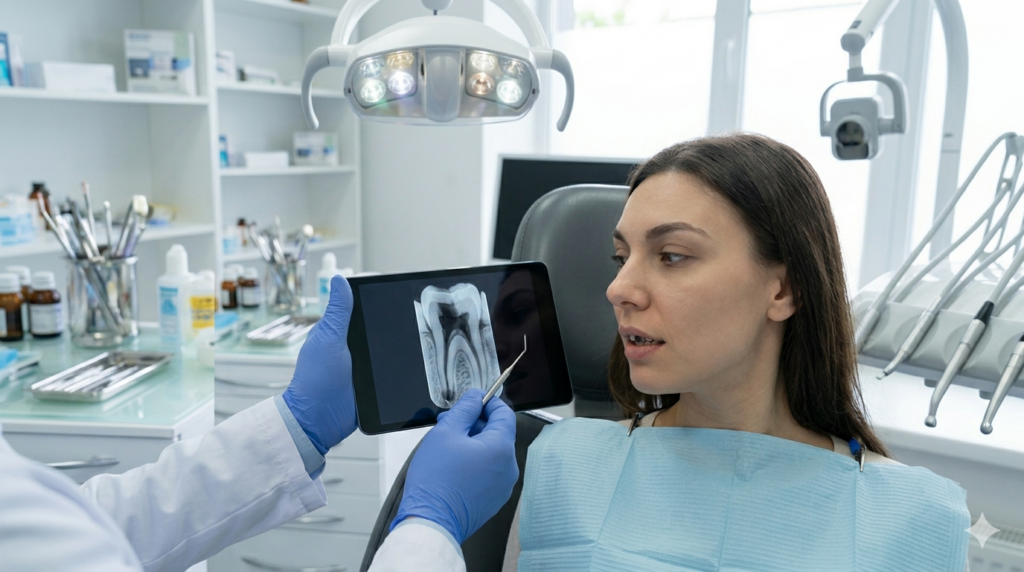
A healthy smile is more than just an aesthetic feature—it plays a vital role in your overall health, confidence, and quality of life. Whether your teeth have been damaged by decay, injury, wear, or missing teeth, modern dentistry offers a variety of solutions to restore both function and appearance.
If you’ve been hiding your smile or struggling with damaged teeth, this guide will help you understand the available treatment options and how your dentist can create a personalized plan to rebuild your smile.
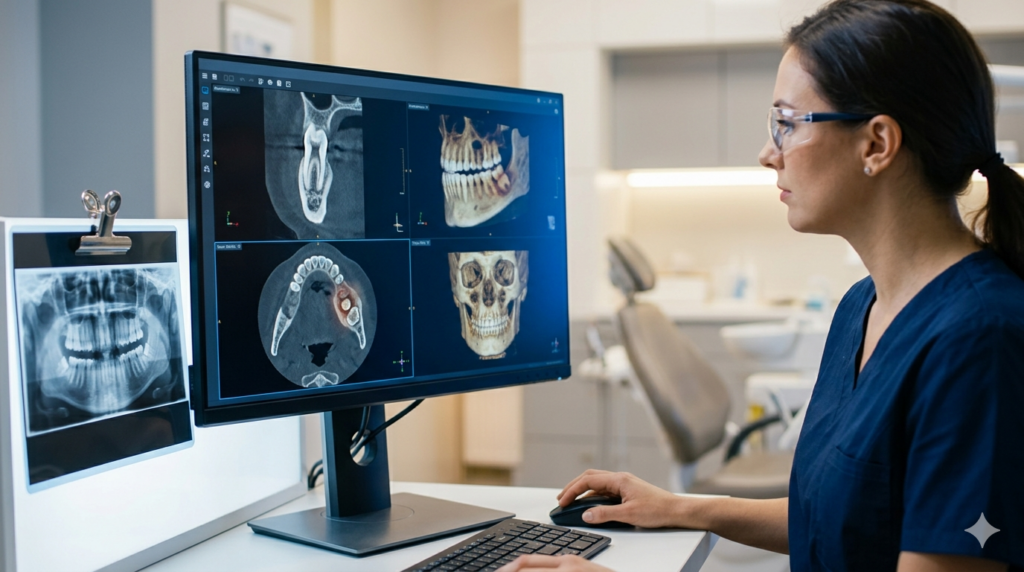
What Causes a Damaged Smile?
A smile can become damaged for many reasons, including:
- Tooth decay and cavities
- Cracked or chipped teeth
- Dental trauma from accidents or sports injuries
- Worn-down teeth caused by grinding (bruxism)
- Missing teeth
- Gum disease
- Discolored or weakened teeth due to aging
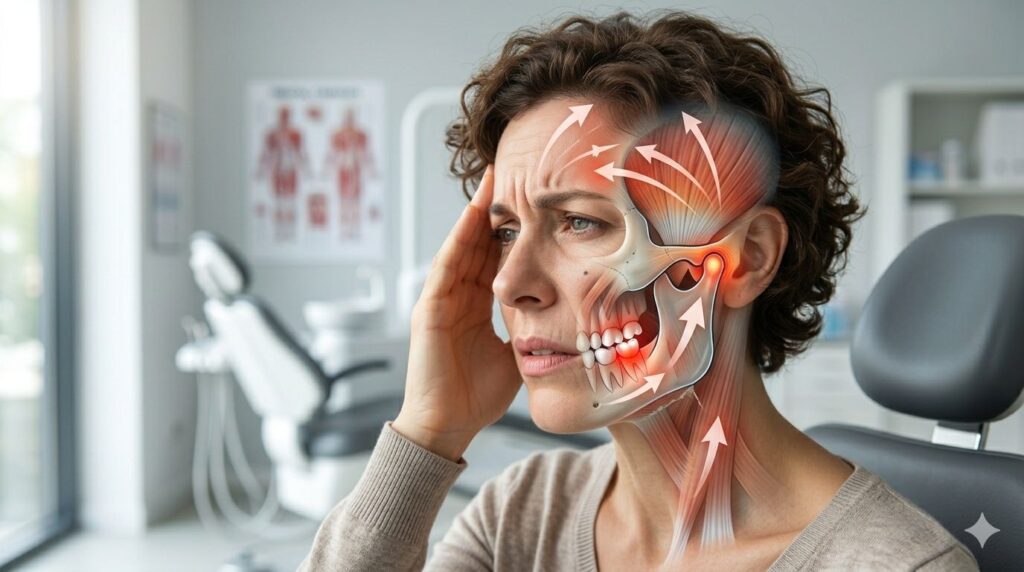
Ignoring these issues can lead to further complications, including difficulty chewing, shifting teeth, jaw problems, and declining oral health.
Dental Fillings for Minor Damage
If tooth decay is caught early, a dental filling is often the simplest way to restore the tooth. Modern tooth-colored composite fillings blend naturally with your smile while strengthening the remaining tooth structure.
Fillings are ideal for treating small cavities before they become larger problems that require more extensive treatment.
Dental Crowns for Weakened Teeth
When a tooth has suffered significant decay, fractures, or has undergone root canal treatment, a dental crown can restore its strength and appearance.
A crown completely covers the damaged tooth, protecting it from further wear while allowing you to chew comfortably. Today’s porcelain and ceramic crowns are designed to match the color and shape of your natural teeth, making them virtually unnoticeable.
Veneers for Cosmetic Improvements
If your concerns are primarily cosmetic, such as chipped, stained, uneven, or slightly misaligned teeth, dental veneers may be an excellent option.
These thin porcelain shells are bonded to the front surface of your teeth to create a brighter, more symmetrical smile. Veneers are popular for patients looking to enhance their smile with long-lasting, natural-looking results.
Dental Implants for Missing Teeth
Missing teeth affect more than just your appearance—they can also impact chewing, speech, and jawbone health.
Dental implants are considered the gold standard for replacing missing teeth. An implant acts as an artificial tooth root that supports a custom-made crown, providing a stable, durable, and natural-looking replacement.
Unlike removable dentures, implants help preserve jawbone density and prevent neighboring teeth from shifting.
Bridges and Dentures
For patients missing one or multiple teeth, dental bridges and dentures remain effective restoration options.
A bridge fills the gap created by one or more missing teeth using neighboring teeth for support. Dentures, whether partial or full, replace several or all missing teeth and restore your ability to eat and speak comfortably.
Your dentist will recommend the best solution based on your oral health, lifestyle, and budget.
Full Mouth Rehabilitation
Some patients require a combination of treatments to restore extensive damage. This approach is known as full mouth rehabilitation or full mouth reconstruction.
Your treatment plan may include:
- Dental crowns
- Fillings
- Dental implants
- Gum disease treatment
- Orthodontics
- Cosmetic procedures
The goal is to restore proper function, improve oral health, and create a balanced, attractive smile.
How to Maintain Your Restored Smile
Once your smile has been restored, maintaining it is essential for long-term success.
Be sure to:
- Brush twice daily with fluoride toothpaste.
- Floss every day.
- Limit sugary foods and beverages.
- Wear a nightguard if you grind your teeth.
- Visit your dentist every six months for routine cleanings and exams.
Good oral hygiene and regular preventive care can help your dental restorations last for many years.
When Should You See a Dentist?
Don’t wait until a damaged tooth becomes painful. Early treatment often means simpler, less expensive procedures and better long-term outcomes.
You should schedule a dental appointment if you notice:
- Chipped or cracked teeth
- Persistent tooth pain or sensitivity
- Missing teeth
- Difficulty chewing
- Loose dental restorations
- Changes in your bite or smile
Prompt treatment can prevent further damage and help preserve your natural teeth whenever possible.
A damaged smile doesn’t have to be permanent. Thanks to advances in modern dentistry, there are effective solutions for everything from small cavities to full smile reconstruction.
Whether you need a simple filling, a dental implant, or a customized treatment plan, restoring your smile can improve your oral health, confidence, and overall quality of life.
If you’re ready to rebuild your smile, schedule a consultation with your dentist. Together, you can create a personalized treatment plan that restores both the function and beauty of your teeth.